We are accustomed to teaching with a model in front of a child, but these instructions should make it so that anyone can build one without our presence. We urge that parents and teachers be there to guide – but to allow the child to try to let the materials (and a picture of the final product) guide them. A wrong direction is always un-doable until you've glued something. Don't be surprised if you have to do this a few times to get it right. It can be tricky.
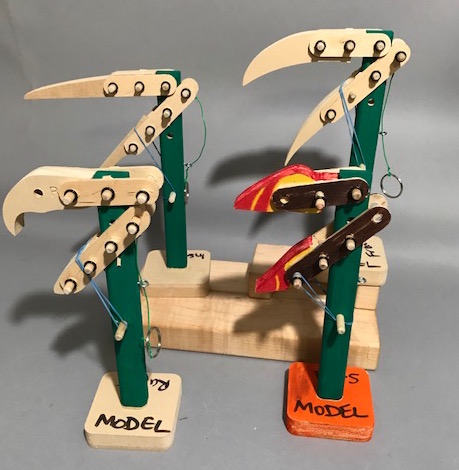
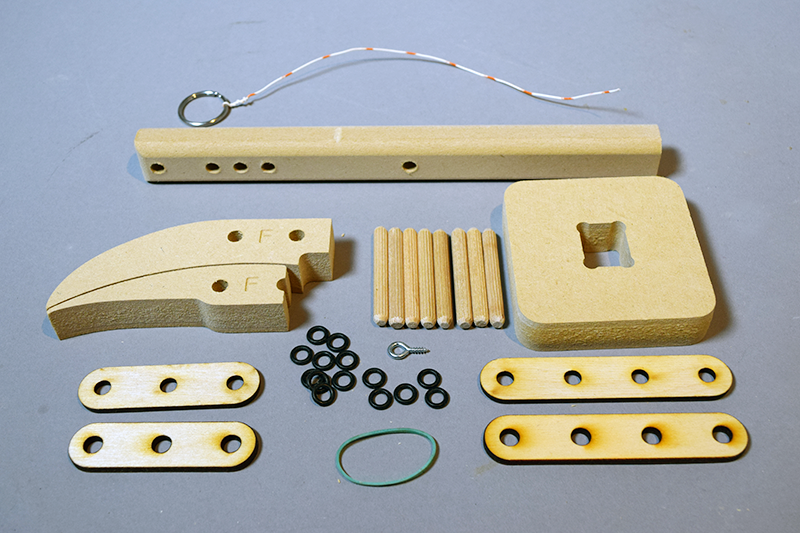
Please note: There are 4 different sets of beaks: Seed Eaters (with an S stamped on them) Fruit Eaters (with an F stamped on them) Insect Eaters (with an I stamped on them) and Raptors (with an R stamped on them). They all go onto the 'body' the same way as shown in these instructions.
There is a definite top and bottom part of the beaks.
The Parts.
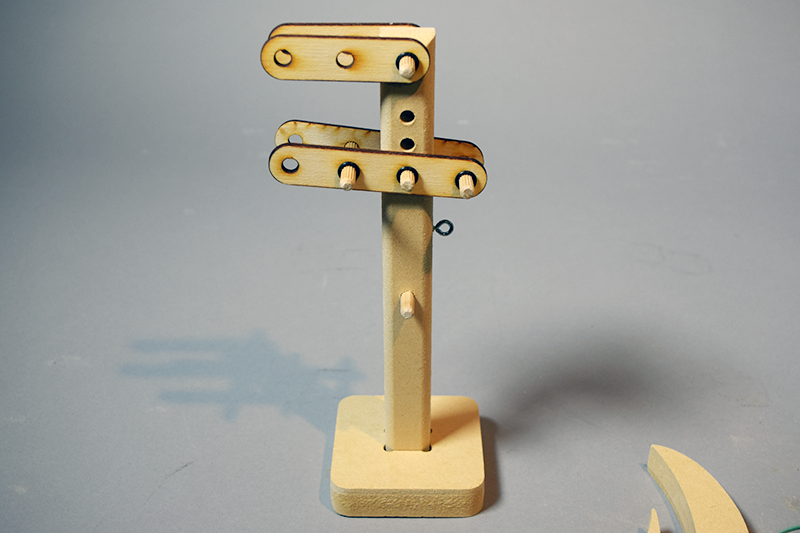
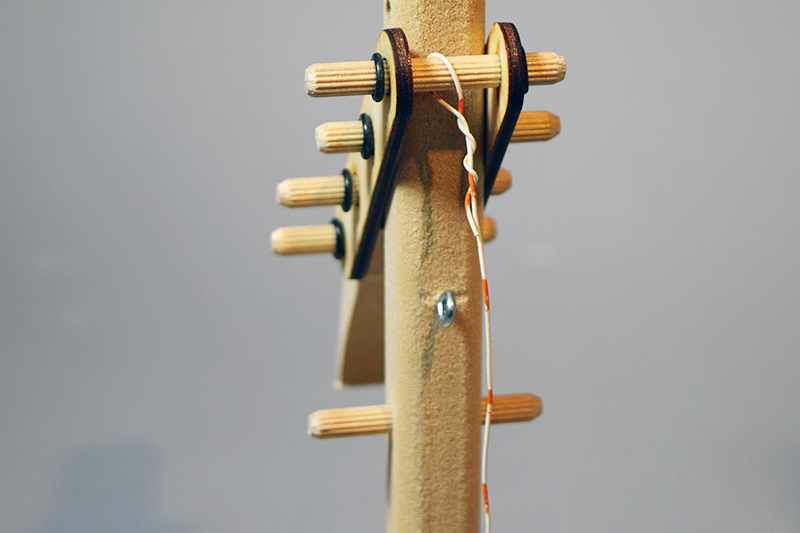
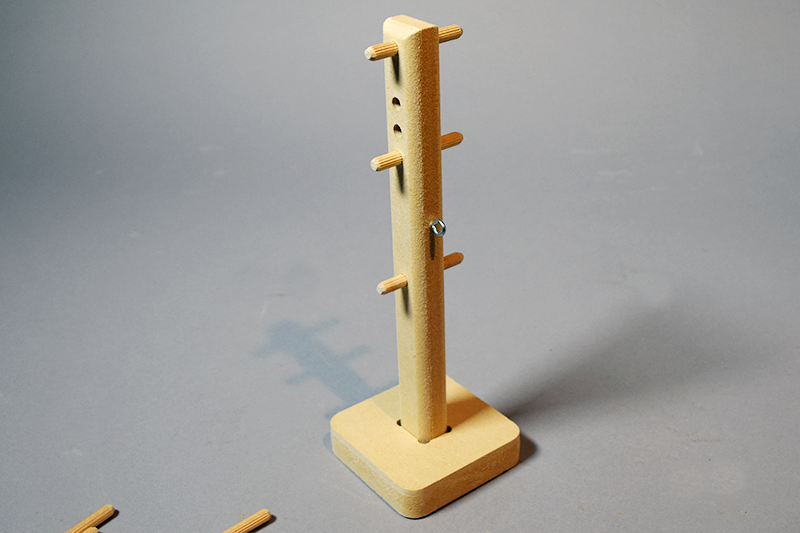
Step 1. Put three of the dowels into the holes as shown in the image. In the indention of the upright 'body' make a small pilot hole for the screw eye and screw it in there. That is the back of the piece.
Step 2. Put the two short pieces of plywood with the holes drilled in them onto each side of the dowel at the top of the 'body' just as you see them in the photo. Secure them with O rings on each side.
Put the two longer pieces of plywood with the holes drilled in them onto each side of the middle dowel in the 'body' just as you see them in the photo. Secure them with O rings on each side. You will notice that the screw eye is sticking out the 'back' while these pieces extend out in the 'front' direction.

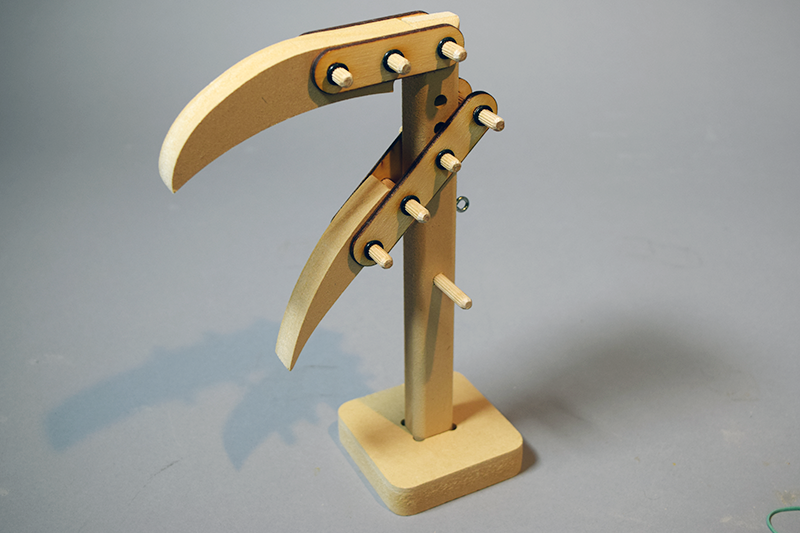
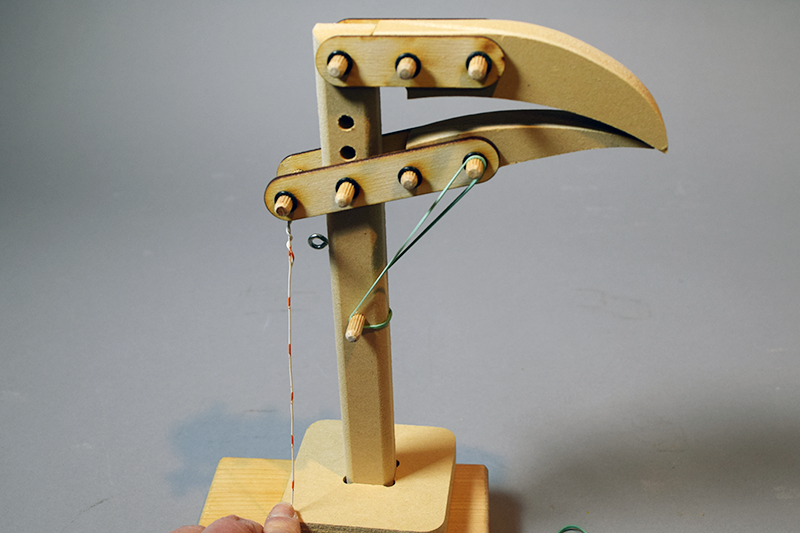
Step 3. Find the top beak and place it between the top two pieces of plywood and up against the vertical 'body.' Put the dowels through the holes in the top of the beak and place the O rings over the ends of the dowels to hold it in place. Do the same with the bottom part of the beak with the front two dowels. Put the last dowel through the holes in the back side of the bottom pieces and add O rings.

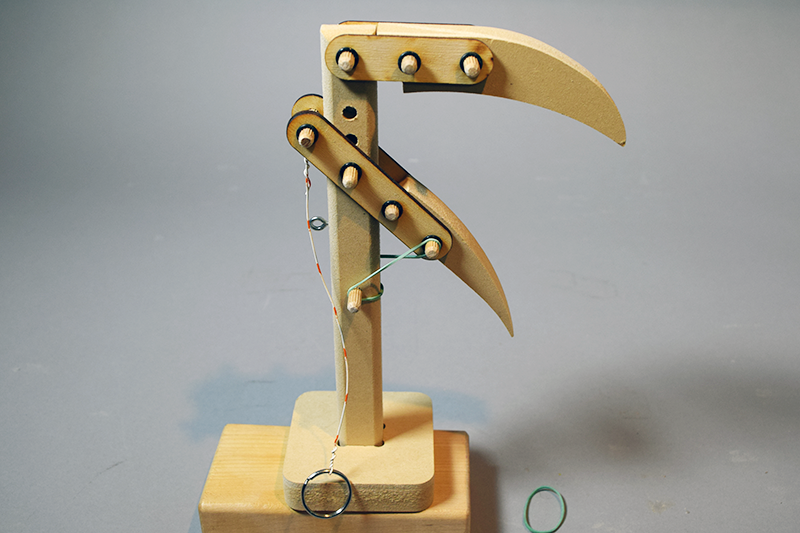
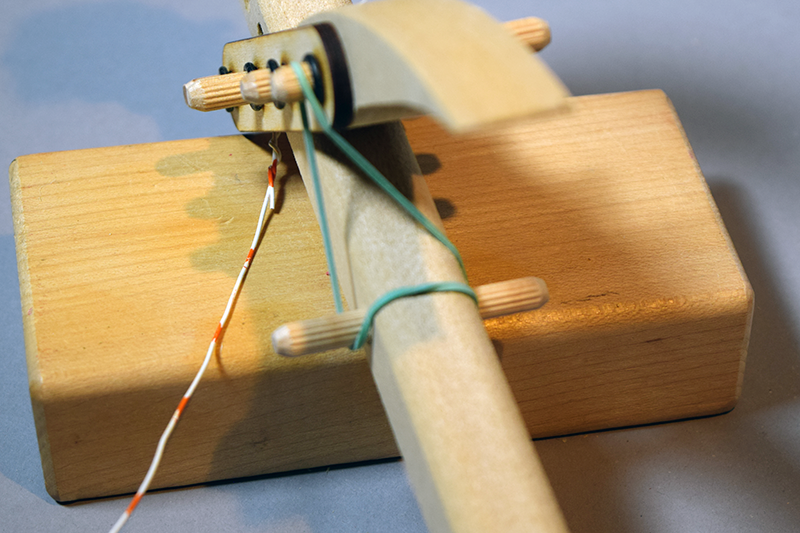
Step 4. Bring the wire attached to the ring up through the screw eye and attach it to the dowel at the back of the lower set of plywood pieces.

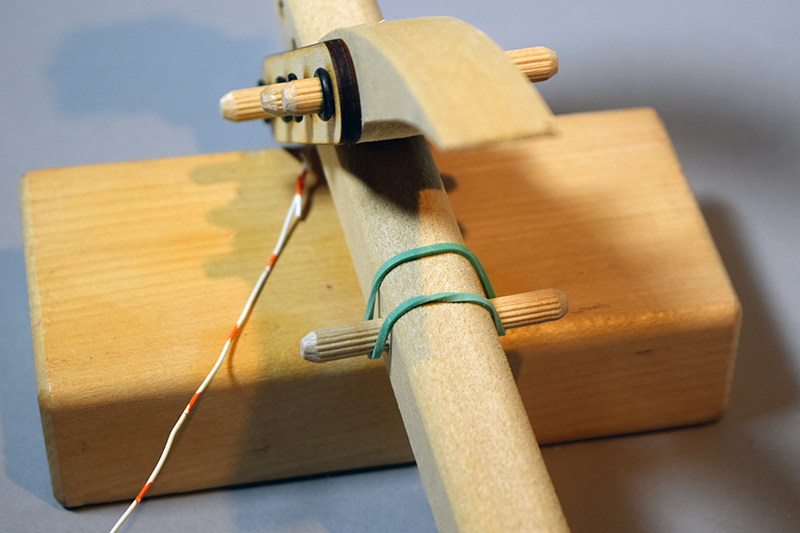
Step 5. On the front of the assembly, hook the small rubberband around the dowel ends as shown in the photo.

Step 6. Pull one side of the rubberband up over the front dowel on the side of the lower beak.

Step 7. Use the wire attached to the ring to pull the beak open and closed.