We are accustomed to teaching with a model in front of a child, but these instructions should make it so that anyone can build one without our presence. We urge that parents and teachers be there to guide – but to allow the child to try to let the materials (and a picture of the final product) guide them. A wrong direction is always un-doable until you've glued something.
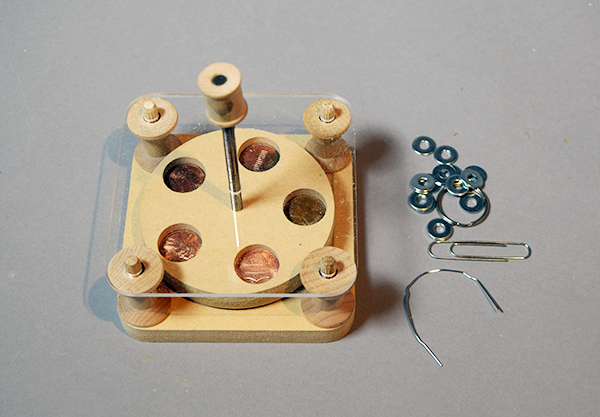
The Parts.
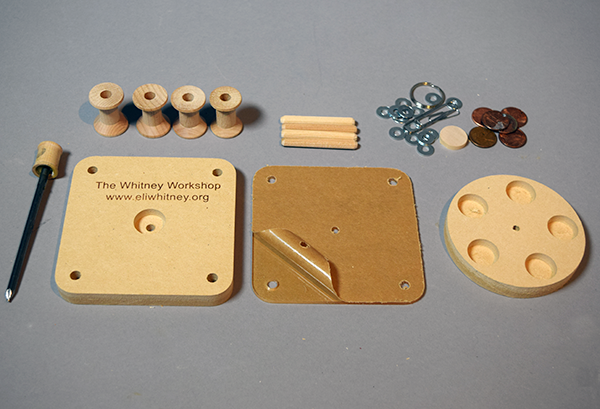
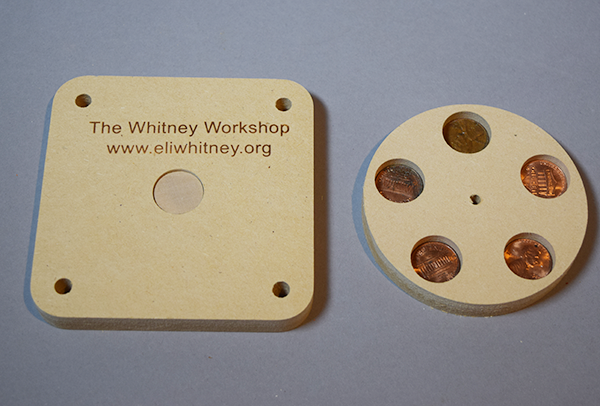
Step 1. On the bottom of the base (the brand is the bottom), insert a penny and then the small wooden disc. You might use some glue (wood or white glue) to hold it in. Then, insert the other 5 pennies into the holes in the wheel. Glue a tiny bit if you want.

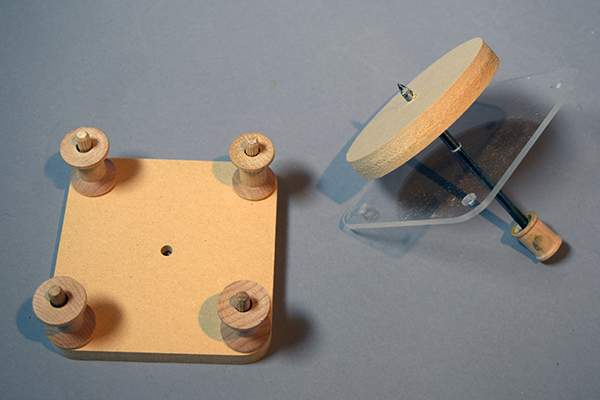
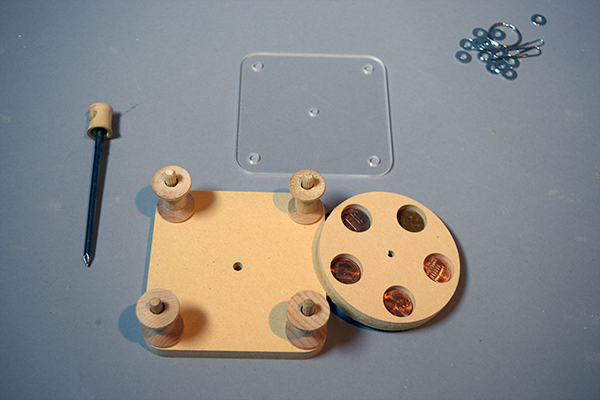
Step 2. Turn the base over. Insert the 4 fluted dowels into the holes in the corners. Drop the wooden spools onto the dowels. Remove the paper from the Plexiglas cover (this is actually the hardest part of this. Persevere.)
Step 3. Take the nail with the neodymium magnet imbedded in it and put it first through the hole in the Plexiglas top and then twist the wheel with the pennies in it onto the nail. Be careful not to break the Plexiglas top. It takes some work to twist it on and yet you have to be gentle with the Plexi... The tip of the nail should extend out beyond the wheel at least 1/2" or so.

Step 4. Put the Plexiglas/Wheel/Nail assembly onto the base. The 1/4" holes will easily fit onto the 4 dowels. The nail should sit in the small hole in the center (it's resting on the penny that you glued into the bottom in step one.)

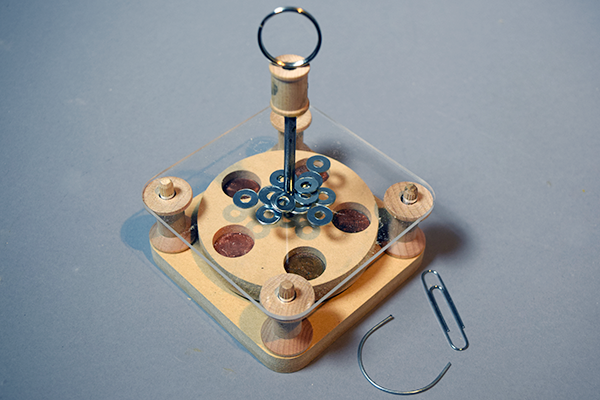
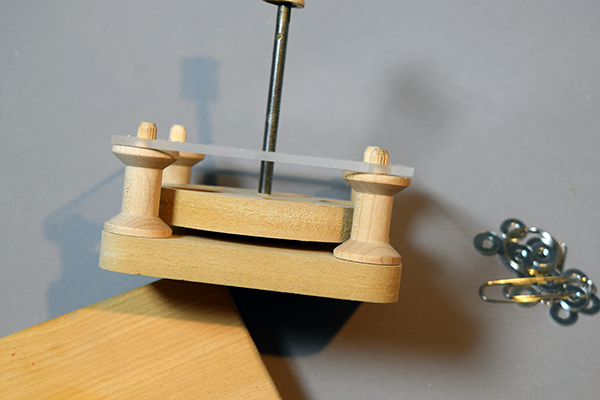
Step 5. Be sure that the wheel is floating above the base so that it turns freely when you spin the small spool at the top of the nail. It can be a bit higher than shown in this photo.
And now, test, test, test.