We are accustomed to teaching with a model in front of a child, but these instructions should make it so that anyone can build one without our presence. We urge that parents and teachers be there to guide – but to allow the child to try to let the materials (and a picture of the final product) guide them. A wrong direction is always un-doable until you've glued something.
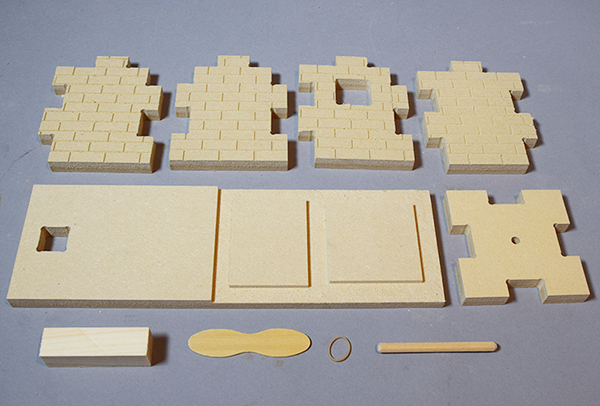
The Parts. We use Wood Glue but White glue is fine too.

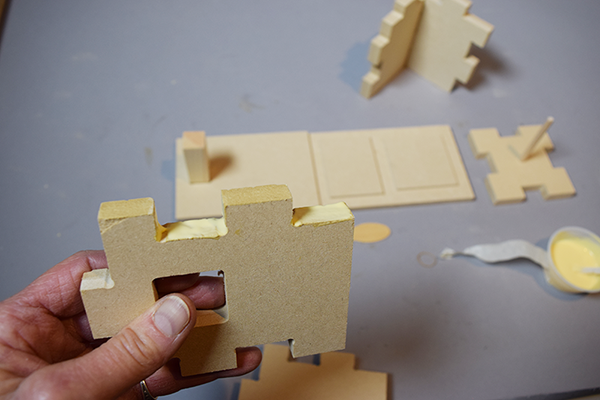
Step 1. The sides of the Castle fit together like a puzzle. The outside is the part with lines etched in them. When you have figured out what fits to what, you will glue them together by putting some glue into the recessed areas. You don't need much and you should try to be neat about it. The top of the castle has a small round hole in it for the long fluted dowel to act as a handle. Glue that dowel in too.

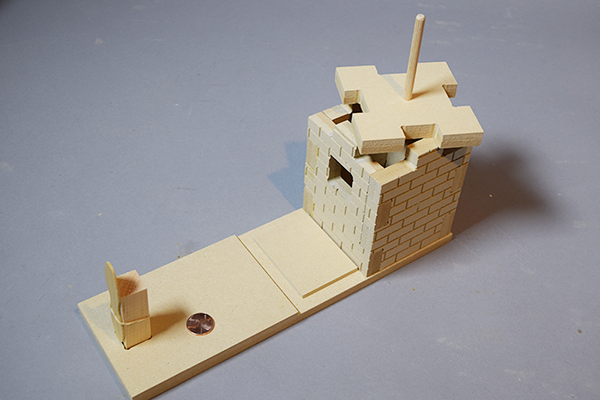
Step 2. The rectangular wooden block should be glued into the square hole in the base and the Ice Cream spoon will be rubber banded to it. It should look like this now just before you put the top piece in. You can glue the castle to the base if you want to as long as you can get pennies out from the top, so don't glue that in.

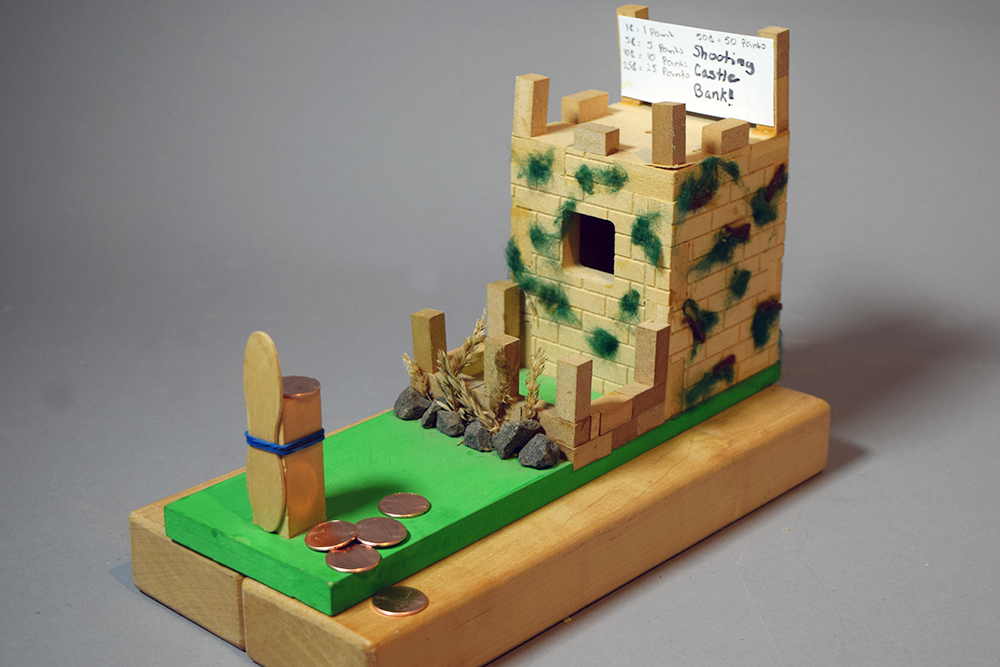
Step 3. Put a penny on the top of the block so it will hang off the back side of it when you pull the wooden spoon back. Let go. See if the penny goes into the hole on the front of the castle. If not, why? Too much force? Not enough? Test and test again till you get it right.
Now decorate it. Maybe a flag!